This page gives a general overview of a flow for transforming ASCII files in print-ready PDF books. The reasons for setting up such a flow in this way are explained in the first part of this tutorial.
Basic workflow
The basic usage of txt2tags is really simple. Once you’ve written something that you need to convert to PDF, text or HTML you can launch the graphic interface with the -gui option or run a command like this at the prompt:
txt2tags -t xhtml -i mypost.txt -o mypost.html
This will tell txt2tags to save in the mypost.html file an HTML version of the content of mypost.txt. What tells the script the desired output format is the -t (target) option. In this case it is xhtml. Had it been txt or tex, it would have produced a plain text or LaTeX file.
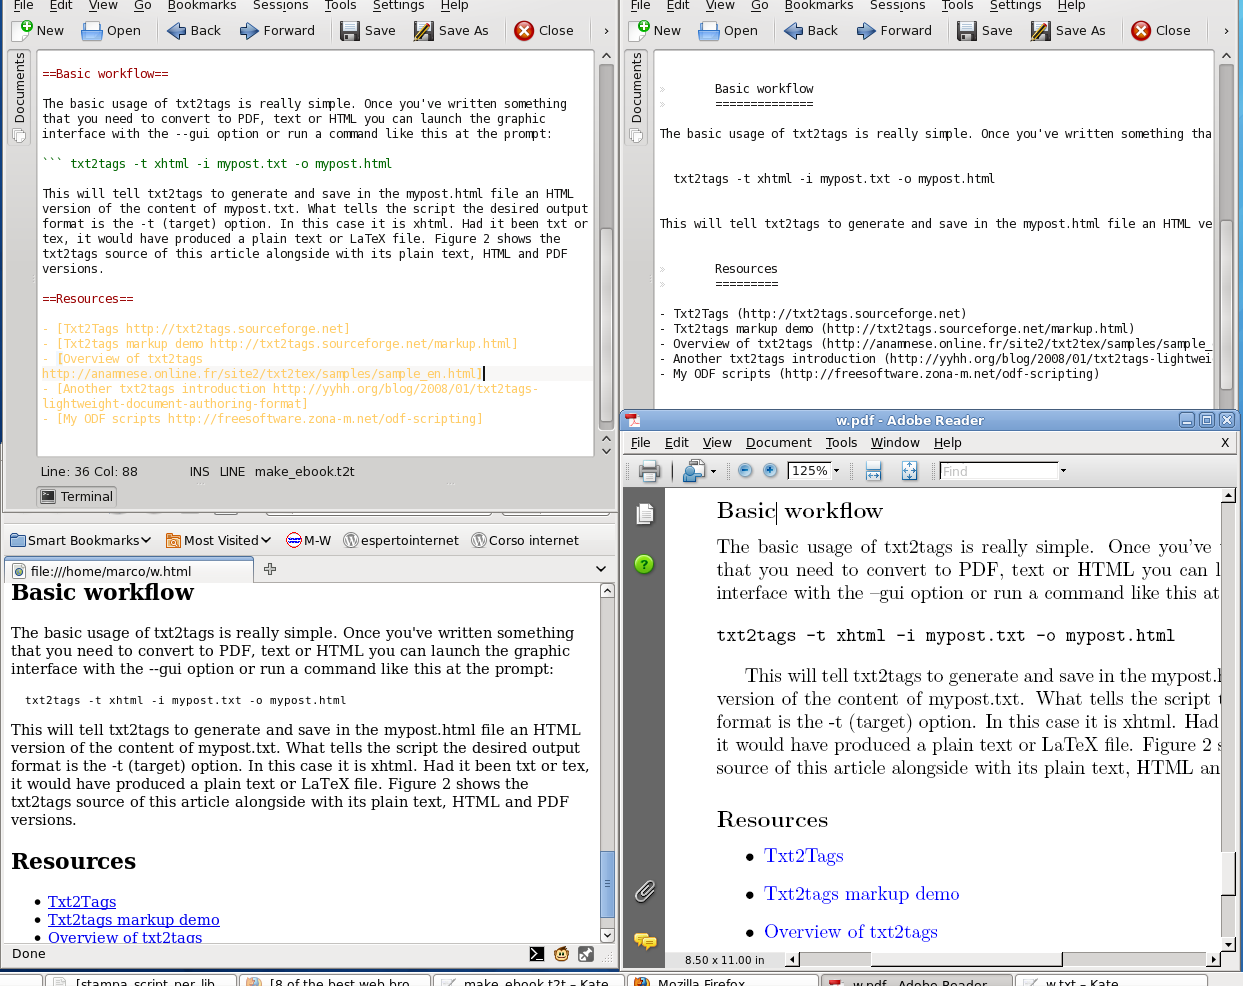
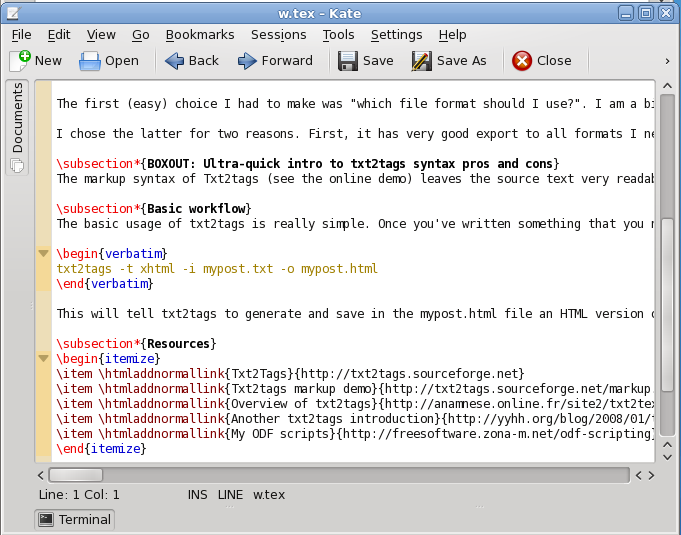
This figure shows the txt2tags source of this article alongside with its plain text, HTML and PDF versions.
As you can see, syntax coloring for txt2tags is already available for Kate (the editor shown above) as well as emacs, Vim and other popular text editors. In order to obtain PDF files, you need to run pdflatex or similar tools on the .tex file created by txt2tags:
  txt2tags -t tex -i mypost.txt -o mypost.tex
  pdflatex mypost.tex
From single files to books
The real power of txt2tags, at least for me, is the fact that it makes easy to work on multiple, completely independent source files as if they were one (more on this later). This makes a breeze to create whole books and sets of HTML pages or other content related to the books, always keeping everything in sync and interlinked with the content of the other versions. Here is a real world case, that is how I created the PDF source and its HTML counterparts for the Guide.
I had some specific requirements, which by the way are common to many other projects of mine. First, I wanted each chapter of the book to be in a separate file. This is both to make incremental backups easier and to collate files from different previous projects without duplicating them. Then I wanted to create an independent, online HTML list of all the web pages mentioned in the book, with the same reference numbers used in the printed copy. I also wanted each of those links in the HTML list to have a descriptive caption that I had written by hand.
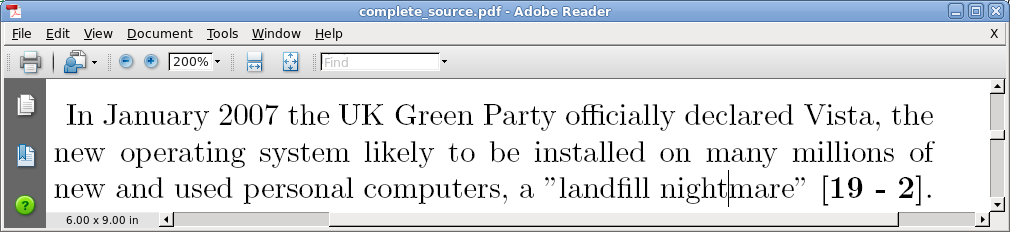
This is, by the way, the reason why I worked out a custom, but relatively simple cross-referencing system, instead of doing everything in LaTeX. For example, at a certain point in the book I wrote that Windows Vista has been defined a “landfill nightmare”. This is the corresponding sentence in source file, complete with txt2tags markup, which includes the reference URL:
the UK Green Party officially declared Vista... a ["landfill nightmare" http://www.greenparty.org.uk/news/2851]
I wanted the PDF version of the chapter to include a reference number like [19 - 2], to mean it’s the second cross-reference of chapter 19. I also wanted the HTML list to associate to that link the same number and the caption ‘Windows Vista? A “landfill nightmare”’. Using the scripts explained below produced the HTML source for the online version of the chapter, the PDF shown in the previous figure and the HTML list with the same references number that you can see online.
The main script I used to create the PDF version ready for upload shown above is published and explained in the last part of this tutorial. The PDF resulting after processing the cross-references is shown here.